Cockos Reaper (Activation number included)
Last Updated:7-07-2024, 23:36
Cockos reaper tutorial pl

About
Are you ready to master the art of audio engineering? Our comprehensive Cockos REAPER tutorial series is designed to take you from a beginner to an expert in no time!
Discover the powerful features of REAPER, a versatile and efficient digital audio workstation that caters to both novice and professional audio producers. Our tutorials cover everything from basic interface navigation to advanced mixing and mastering techniques.
Join thousands of satisfied users who have elevated their audio production skills with our step-by-step guidance. Whether you're looking to produce music, record podcasts, or mix live events, our tutorials will provide you with the knowledge and confidence you need to succeed.
Don't miss out on this opportunity to transform your audio projects! Start your journey today and witness the incredible difference REAPER can make in your creative process.
Getting Started with REAPER Interface
Welcome to REAPER! Whether you're a seasoned audio engineer or a complete beginner, understanding the REAPER interface is your first step towards creating amazing music and audio projects. Let's dive into the essentials that will help you navigate and utilize REAPER effectively.
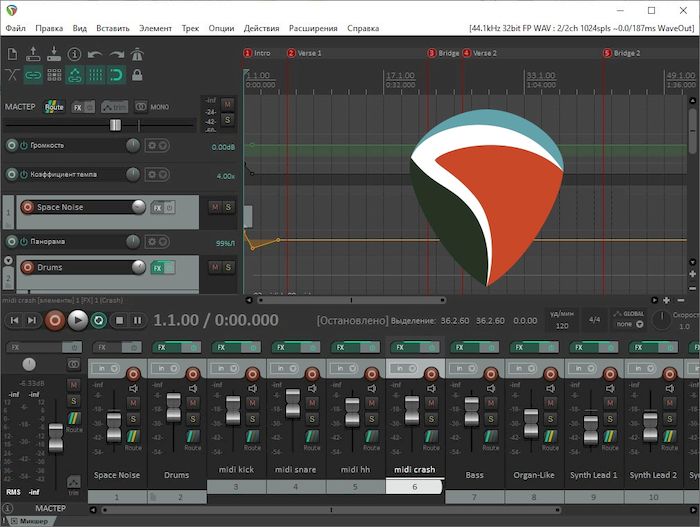
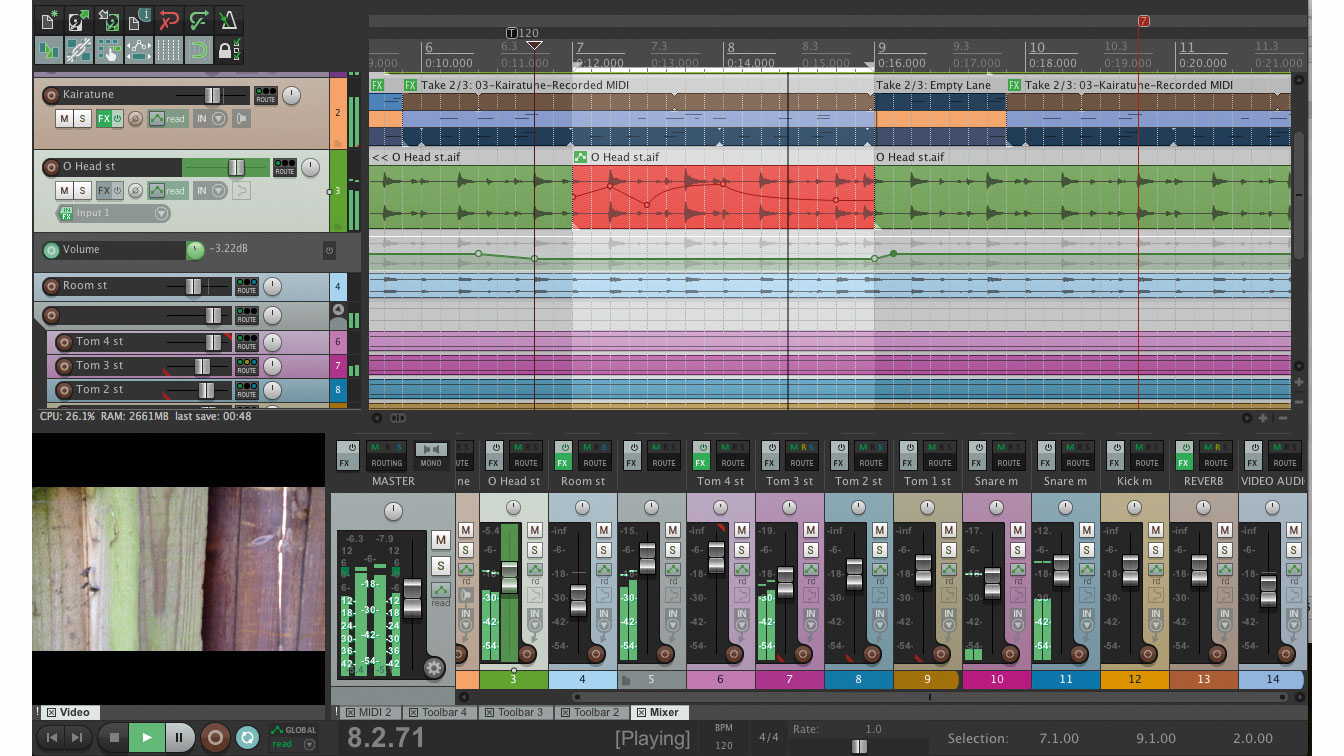
The Main Window: At the heart of REAPER is the main window, which is where you'll spend most of your time. Here, you'll find the Track Control Panel on the left, displaying all your tracks and their controls. To the right, you have the Arrange Window, where you can see and edit your audio and MIDI clips.
Toolbars and Menus: REAPER's flexibility shines through its customizable toolbars and menus. You can access most of the essential functions through the top menu bar, including File, Edit, View, Transport, and more. Additionally, toolbars can be customized to include buttons for frequently used actions, making your workflow smoother and more efficient.
The Mixer: Another crucial part of the interface is the Mixer, which you can open by clicking on 'Mixer' in the View menu. This panel allows you to adjust volume, pan, and effects for each track individually. It's a powerful tool for fine-tuning your mix.
Media Explorer: For quick access to your media files, the Media Explorer is invaluable. You can drag and drop files directly into your project from this panel, making it easy to manage and incorporate your audio assets.
By familiarizing yourself with these key areas of the REAPER interface, you'll be well on your way to mastering this versatile digital audio workstation. Remember, REAPER is highly customizable, so feel free to tweak and adjust the layout to suit your personal workflow and preferences. Happy mixing!
Basic Recording Techniques in REAPER
Getting Started with REAPER
REAPER, developed by Cockos, is a versatile digital audio workstation (DAW) that offers a wide range of features for recording, editing, and producing audio. Whether you're a beginner or a seasoned professional, mastering the basics of recording in REAPER is essential for maximizing your productivity and creativity.
Setting Up Your Audio Interface
Before you start recording, ensure your audio interface is properly connected and recognized by REAPER. Go to Options > Preferences > Audio > Device to select your audio interface. Make sure the correct input and output devices are chosen, and adjust the buffer size for optimal performance.
Creating a New Project
To begin a new recording session, create a new project by clicking File > New Project. This will set up a fresh workspace where you can organize your tracks and recordings. Save your project regularly to avoid losing any work.
Adding Tracks and Setting Inputs
Add tracks by clicking the Add Track button or pressing Ins on your keyboard. For each track, specify the input source by right-clicking on the track and selecting Track Input. Choose whether you want to record from a microphone, instrument, or another audio source.
Arming Tracks for Recording
To enable recording on a track, click the red record button on the track panel or press R on your keyboard. This arms the track for recording. Make sure only the necessary tracks are armed to avoid recording unwanted audio.
Recording Audio
With your tracks armed and inputs set, press the record button in the transport panel or press Spacebar to start recording. Monitor your levels to avoid clipping and ensure you capture a clean, usable take. Use headphones for better monitoring if needed.
Editing and Arranging
After recording, you can edit and arrange your takes within REAPER. Use tools like the razor edit tool, trim handles, and the arrange window to fine-tune your recordings. Experiment with effects and processing to enhance your audio.
Saving and Exporting
Once you're satisfied with your recording and editing, save your project and export your final audio. Go to File > Render to export your project as an audio file. Choose the appropriate format and settings for your needs.
By following these basic recording techniques in REAPER, you'll be well on your way to creating professional-quality audio projects. Happy recording!
Advanced Editing Features
Dive into the world of Cockos REAPER with our comprehensive tutorials that cover the most sophisticated editing features. Whether you're a seasoned producer or a budding audio engineer, mastering these advanced tools will elevate your workflow and creativity.
Multi-Track Editing
Unlock the power of simultaneous editing across multiple tracks. REAPER allows you to make precise cuts, fades, and adjustments on multiple tracks at once, saving you time and ensuring consistency across your project. Learn how to use the advanced selection tools and automation features to craft complex audio arrangements with ease.
Dynamic Automation
Take control of your sound with REAPER's dynamic automation capabilities. Our tutorials will guide you through creating intricate automation curves, applying real-time effects, and managing automation envelopes. Discover how to use automation not just for volume and panning, but also for more nuanced effects like EQ and compression, giving your tracks a professional polish.
Mixing and Mastering in REAPER
REAPER, developed by Cockos, is a powerful digital audio workstation (DAW) that offers a wide range of tools for mixing and mastering your audio projects. Whether you're a beginner or a seasoned professional, REAPER provides the flexibility and control needed to achieve professional-quality results. Here's a guide to help you navigate through the process of mixing and mastering in REAPER.
Understanding the Mixing Process: Balancing Levels: Use the faders and automation to adjust the volume levels of individual tracks to achieve a balanced mix. EQ and Filtering: Apply equalization to fine-tune the frequency spectrum of each track, and use filters to remove unwanted frequencies. Panning: Position your tracks in the stereo field to create a spacious mix. Effects Processing: Add reverb, delay, compression, and other effects to enhance the overall sound. Mastering Essentials: Analyzing the Mix: Use spectrum analyzers and other tools to evaluate the frequency balance and dynamics of your mix. Mastering EQ: Apply a mastering EQ to correct any remaining issues and add a final polish to the frequency spectrum. Dynamic Processing: Use compressors and limiters to control the dynamics and increase the overall loudness. Imaging and Stereo Width: Enhance the stereo image and width of your mix to create a more immersive listening experience. REAPER-Specific Tips: Customizable Interface: Take advantage of REAPER's highly customizable interface to set up your mixing and mastering environment. JSFX Plugins: Utilize REAPER's built-in JSFX plugins for unique and powerful processing options. ReaPlugs Suite: Use the comprehensive suite of ReaPlugs plugins for a wide range of mixing and mastering tools. Automation and Routing: Leverage REAPER's advanced automation and routing capabilities for precise control over your mix.By following these guidelines and exploring the extensive features of REAPER, you can achieve a professional-quality mix and master that stands out. Remember, practice and experimentation are key to mastering the art of mixing and mastering in REAPER.
Using Plugins and Effects
Enhance Your Audio Production with Reaper's Extensive Plugin Support
One of the most powerful features of Cockos Reaper is its ability to integrate a vast array of plugins and effects. Whether you're a beginner or a seasoned audio engineer, leveraging the right plugins can significantly elevate the quality of your projects.
Discover and Install Plugins Easily: Reaper's user-friendly interface makes it straightforward to browse and install plugins from various sources. From VST and AU to ReaPlugs, the compatibility is extensive, ensuring you have access to a wide range of tools to suit your needs.
Customize Your Sound with Effects: Effects plugins are essential for shaping your audio. With Reaper, you can apply effects like EQ, compression, reverb, and more to individual tracks or busses, allowing for precise control over your mix. Experiment with different combinations to find the perfect sound for your project.
Automate and Fine-Tune: Reaper's automation capabilities enable you to dynamically control plugin parameters over time. This means you can add movement and depth to your tracks, making them more engaging and professional.
Optimize Performance: Managing multiple plugins can impact your system's performance. Reaper offers efficient management tools to help you optimize plugin usage, ensuring smooth operation even with complex projects.
By mastering the use of plugins and effects in Reaper, you can unlock new creative possibilities and take your audio production to the next level. Start exploring today and transform your sound!
REAPER Workflow Optimization
Maximize Your Efficiency with REAPER
Optimizing your workflow in REAPER is crucial for enhancing productivity and creativity. Whether you're a seasoned audio engineer or a budding musician, these tips will help you streamline your processes and get the most out of your digital audio workstation (DAW).
Customize Your Layout
REAPER offers extensive customization options for its interface. Start by tailoring your workspace to suit your specific needs. Arrange your tracks, effects, and virtual instruments in a way that makes sense to you. Utilize multiple windows and docks to keep everything within easy reach.
Master Keyboard Shortcuts
Learning and utilizing keyboard shortcuts can significantly speed up your workflow. REAPER has a comprehensive list of default shortcuts, but you can also create custom ones to match your preferred workflow. Spend some time familiarizing yourself with the most commonly used commands and consider creating a cheat sheet for reference.
Utilize Markers and Regions
Markers and regions are powerful tools for organizing your project. Use markers to denote sections of your track, such as verse, chorus, and bridge. Regions can help you group related items, making it easier to navigate and edit your project. This organizational strategy can save you a lot of time during mixing and mastering stages.
Automate Effectively
Automation is a game-changer in audio production. REAPER allows for detailed automation of volume, panning, effects, and more. Plan your automation strategically to avoid clutter and confusion. Use automation items to group related automation curves, making it easier to manage and tweak your settings.
Regularly Back Up Your Projects
Prevent data loss by regularly backing up your projects. REAPER makes it easy to save backups with the Save as function. Consider setting up a routine to back up your projects at regular intervals, especially before making significant changes. This simple practice can save you from potential headaches down the line.
By implementing these workflow optimization strategies, you'll find that working in REAPER becomes more efficient and enjoyable. Stay organized, stay creative, and make the most of your time in the studio!
Tips and Tricks for Efficient Music Production
Organize Your Project: Before diving into the creative process, take the time to set up your project folder. Create separate folders for audio files, MIDI data, presets, and project files. This not only keeps your workspace tidy but also speeds up the workflow when you need to locate specific files.
Use Keyboard Shortcuts: Mastering keyboard shortcuts can significantly enhance your productivity. Spend some time learning the shortcuts in Cockos REAPER, as they allow for quick navigation and execution of commands without having to use the mouse.
Implement Automation Wisely: Automation is a powerful tool in music production, but overusing it can clutter your project and slow down the performance. Use automation sparingly and primarily for elements that truly need it, such as volume fades, panning, and effects modulation.
Leverage Templates: Create templates for your most common setups, including track configurations, effects chains, and routing options. This can save you a lot of time when starting new projects, as you won't have to set up everything from scratch each time.
Regularly Backup Your Work: Accidents happen, and losing hours of work due to a system crash or a corrupted file is frustrating. Set up an automatic backup system or manually save multiple versions of your project regularly. This ensures that you always have a recent version to revert to if needed.
Stay Updated with REAPER Updates: Cockos frequently releases updates that include new features, bug fixes, and performance improvements. Keeping your REAPER software up to date ensures you have access to the latest tools and optimizations, which can enhance your production efficiency.
By incorporating these tips and tricks into your music production workflow, you can streamline your process, reduce frustration, and focus more on the creative aspects of making music.