Cockos Reaper (Activation number included)
Last Updated:7-07-2024, 23:37
Cockos reaper instructions

About
Are you ready to revolutionize your audio production? Discover the ultimate guide to mastering Cockos REAPER, the powerful and versatile digital audio workstation that's taking the music industry by storm. Whether you're a beginner looking to dive into the world of digital sound or a seasoned professional aiming to enhance your workflow, our comprehensive instructions are tailored to meet your needs.
Why settle for less when you can have the best? Our detailed tutorials cover everything from basic setup to advanced mixing techniques, ensuring you can harness the full power of REAPER's features. Say goodbye to guesswork and hello to professional-grade audio production with our step-by-step guidance.
Don't miss out on this opportunity to elevate your audio projects. Start your journey today and transform the way you create music with Cockos REAPER!
Getting Started with Cockos REAPER
Welcome to the world of Cockos REAPER, a powerful and flexible digital audio workstation (DAW) that offers a wide range of features for music production, audio editing, and sound design. Whether you're a beginner or a seasoned professional, REAPER provides the tools you need to create, edit, and produce audio content with ease. Here's a quick guide to help you get started.
Installation and Initial Setup
Download REAPER: Visit the Cockos website and download the latest version of REAPER for your operating system. Install REAPER: Run the installer and follow the on-screen instructions to complete the installation process. Launch REAPER: Once installed, launch REAPER from your applications menu or desktop shortcut. Initial Configuration: REAPER will prompt you to configure some basic settings. Choose your preferred audio and MIDI devices, sample rate, and buffer size.Basic Workflow
Creating a New Project: Click on File > New Project to start a new session. Importing Audio: Use File > Import to add audio files to your project. Arranging Tracks: Drag and drop audio files onto the track area to begin arranging your project. Editing Audio: Use the various editing tools (cut, copy, paste, trim) to refine your audio clips. Adding Effects: Apply effects and plugins to your tracks by dragging them from the FX browser onto the track or clip. Mixing: Adjust volume, panning, and send levels to create a balanced mix. Exporting: Once your project is complete, export your final mix using File > Render.With these basic steps, you'll be well on your way to mastering Cockos REAPER and unleashing your creative potential. Happy producing!
Understanding the REAPER Interface
REAPER (Rapid Environment for Audio Prototyping and Efficient Recording) by Cockos is a powerful digital audio workstation (DAW) that offers a highly customizable interface. Whether you're a seasoned audio engineer or a beginner, understanding the layout and functionalities of REAPER's interface is crucial for maximizing your productivity and creativity.
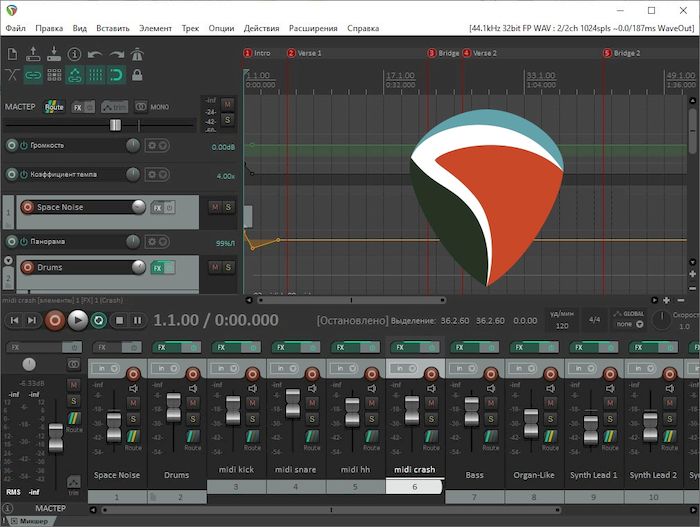
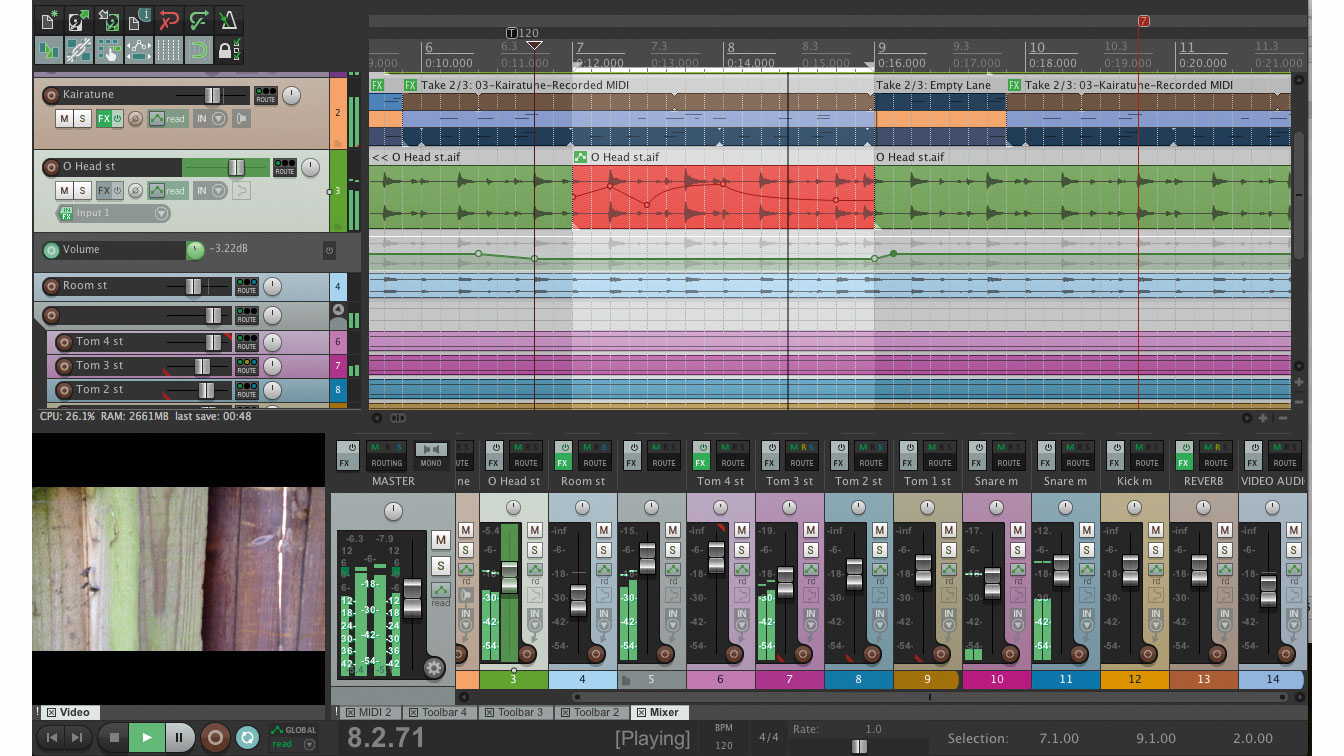
The Main Window: At the heart of REAPER is the main window, which serves as the central hub for all your audio projects. Here, you'll find the Arrangement Area, where you can visually arrange and edit your tracks. This area is where the magic happens, allowing you to drag, drop, cut, and paste audio clips with ease.
Track Controls: Each track in REAPER comes with a set of controls that let you manage various aspects of audio processing. From volume and panning to routing and effects, these controls are essential for fine-tuning your mix. Pay special attention to the Track Inspector, which provides detailed information and settings for each track.
Toolbars and Menus: REAPER's interface is highly modular, meaning you can customize toolbars and menus to suit your workflow. The Main Toolbar offers quick access to common functions like play, record, and stop. Additionally, the Menu Bar provides access to a wide range of features and settings, ensuring you can find and use tools efficiently.
Mixer and FX Windows: For those who prefer a more traditional mixing approach, REAPER's mixer window is a game-changer. It allows you to manage multiple tracks simultaneously, apply effects, and adjust levels in real-time. The FX windows, on the other hand, are where you can add, edit, and tweak effects plugins to enhance your audio.
By taking the time to familiarize yourself with these key elements of the REAPER interface, you'll be well-equipped to tackle any audio project with confidence and efficiency. Remember, REAPER's flexibility means you can always adjust and optimize the interface to better fit your unique needs and preferences.
Recording Audio in REAPER
REAPER (Rapid Environment for Audio Production, Engineering, and Recording) is a versatile digital audio workstation (DAW) that offers a robust set of features for recording audio. Whether you're a professional audio engineer or a hobbyist, REAPER provides the tools you need to capture high-quality audio with ease.
Setting Up Your Recording Environment
Before diving into recording, it's crucial to ensure your environment is set up correctly. Acoustic treatment and proper microphone placement can significantly impact the quality of your recordings. REAPER supports a wide range of audio interfaces and microphones, making it adaptable to various recording setups.
Step-by-Step Recording Process
1. Configure Audio Devices: Open REAPER and go to Options > Preferences > Audio > Device. Select your audio interface and configure the input and output settings.
2. Create a New Track: Click on Track > Insert Track to create a new track for your recording. Assign the appropriate input source to the track.
3. Arm the Track for Recording: Click the red record button on the track to arm it for recording. You can also press the Record Arm button in the track control panel.
4. Start Recording: Press the global record button or hit the spacebar to start recording. REAPER will capture the audio input in real-time.
5. Monitor Your Recording: Use headphones or studio monitors to listen to the recording as it happens. REAPER allows for flexible monitoring options, including direct monitoring and latency compensation.
6. Stop Recording: Press the stop button or hit the spacebar again to stop the recording. Review the recorded track and make any necessary edits.
With these steps, you can efficiently record audio in REAPER, harnessing its powerful features to produce professional-quality recordings. Experiment with different settings and techniques to find what works best for your projects.
Editing and Arranging Tracks
Cockos REAPER offers a powerful and flexible environment for editing and arranging your audio tracks. Whether you're working on a simple podcast or a complex multi-track project, REAPER provides the tools you need to bring your vision to life.
Basic Editing Techniques
REAPER's intuitive interface allows you to easily cut, copy, paste, and delete sections of your tracks. You can also use the razor tool to split tracks at precise points, enabling you to edit individual segments without affecting the rest of the track. Additionally, REAPER supports non-destructive editing, meaning you can always go back and make changes without losing your original audio.
Advanced Arranging Features
For more advanced users, REAPER offers a range of arranging features that go beyond basic track management. You can create and manage multiple takes, use automation to dynamically control parameters like volume and pan, and even apply effects in real-time. REAPER's track grouping and routing capabilities also make it easy to manage complex projects with multiple layers and instruments.
Using Effects and Plugins
REAPER offers a vast array of effects and plugins to enhance your audio production. Whether you're looking to add depth with reverb, clarity with EQ, or creativity with modulation effects, REAPER has you covered. Here's how you can make the most of these tools:
Installing Plugins: Download the plugin from a trusted source. Extract the files to your preferred directory. Open REAPER and go to Options > Preferences > Plug-ins. Add the plugin path and refresh the plugin list. Adding Effects to Tracks: Select the track you want to add an effect to. Right-click and select Insert virtual instrument on new track or Effects > Add track effect. Choose from the list of available effects and plugins. Using FX Chains: Create an FX chain by adding multiple effects to a single track. Arrange the order of effects to achieve the desired sound. Save the FX chain for future use by right-clicking the FX chain and selecting Save chain. MIDI Effects: Use MIDI effects to manipulate MIDI data. Common MIDI effects include arpeggiators, quantizers, and transposers. Apply MIDI effects directly to MIDI tracks for real-time manipulation. Automation with Effects: Automate parameters of effects to create dynamic changes over time. Right-click on an effect parameter and select Add parameter to automation. Use the automation envelope to draw in changes.By mastering the use of effects and plugins in REAPER, you can significantly expand your sonic palette and achieve professional-quality results. Experiment with different combinations and settings to discover unique sounds that suit your creative vision.
Mastering Your Project
Welcome to the world of digital audio production with Cockos REAPER! Whether you're a seasoned producer or just starting out, mastering your project is a crucial step to ensure your music sounds professional. Here are some essential tips and steps to help you master your project effectively:
Prepare Your Mix: Before you start mastering, ensure your mix is balanced and ready. Check levels, panning, and EQ to make sure each element sits well in the mix. Use Reference Tracks: Compare your mix to professionally mastered tracks. This helps you understand the level of polish and clarity you're aiming for. Start with EQ: Use a gentle EQ to fine-tune the overall frequency balance. Avoid drastic cuts or boosts; subtle adjustments can make a big difference. Apply Compression: Compression can help control dynamics and give your track a more cohesive feel. Be careful not to overdo it; you want to maintain the natural flow of your music. Add Stereo Enhancement: Use plugins like stereo imaging tools to widen your mix. This can add depth and space, making your track more engaging. Level Matching: Ensure your mastered track matches the loudness of commercial releases. Use tools like LUFS meters to measure and adjust your track's loudness. Finalize with Limiting: A limiter can help bring up the overall level of your track without causing distortion. Set your ceiling just below 0 dB to avoid clipping.Remember, mastering is both an art and a science. Take your time, experiment with different settings, and listen critically. With practice and patience, you'll be able to master your projects to a professional standard.
Tip: Regularly update your plugins and REAPER software to take advantage of the latest features and improvements. Tip: Always master in a quiet environment to avoid any external noise affecting your judgment.Happy mastering with Cockos REAPER! Your music deserves the best, and with these tips, you're well on your way to achieving that professional sound.
Exporting and Sharing Your Music
Once you've crafted your masterpiece in Cockos REAPER, the next thrilling step is to export and share your music with the world. Whether you're aiming to distribute your tracks online, send them to collaborators, or simply back them up, REAPER offers a robust set of tools to ensure your music is ready for any platform.
Exporting Your Project
Step 1: Finalize Your Mix - Before exporting, make sure your mix is balanced and polished. Use REAPER's extensive mixing tools to adjust levels, apply effects, and ensure your track sounds its best.
Step 2: Choose Your Export Format - REAPER supports a variety of formats including WAV, MP3, and AIFF. For high-quality distribution, consider exporting in lossless formats like WAV or AIFF. For web distribution or streaming, MP3 is a popular choice due to its smaller file size.
Step 3: Export Your Track - Navigate to File > Export > Media... to open the export dialog. Here, you can select your desired format, specify the bit depth and sample rate, and choose where to save your file.
Sharing Your Music
Step 1: Upload to Platforms - Once your track is exported, it's time to share it. Upload your music to popular platforms like Spotify, Apple Music, or SoundCloud. Ensure your metadata is complete and accurate to help listeners find your music.
Step 2: Collaborate with Others - If you're working with a team, REAPER allows you to easily share project files. This is particularly useful for remote collaborations, enabling others to make changes or provide feedback directly within the project.
Step 3: Promote Your Music - Utilize social media, email newsletters, and music blogs to promote your new release. Engage with your audience and build your fan base by sharing behind-the-scenes content and updates about your music journey.
With REAPER, exporting and sharing your music has never been easier. Embrace the tools at your disposal and let your creativity shine!
Advanced REAPER Techniques
Mastering REAPER goes beyond the basics. Here, we delve into advanced techniques that will elevate your audio production skills. Whether you're a seasoned producer or a budding sound engineer, these tips will help you harness the full potential of REAPER.
By incorporating these advanced techniques into your REAPER workflow, you'll not only enhance the quality of your productions but also streamline your creative process. Dive deeper into each technique with our comprehensive guides and tutorials available in the Cockos REAPER resources section.