
Tenorshare 4DDiG Data Recovery (Activation number included)
Last Updated:20-07-2024, 09:47
4ddig mac data recovery

About
4ddig mac data recovery
4DDig Mac Data Recovery: Comprehensive Guide 4DDig Mac Data Recovery: Comprehensive GuideIn the digital age, data is invaluable. Whether it's personal photos, important documents, or critical business files, losing data can be a nightmare. Fortunately, tools like 4DDig Mac Data Recovery offer a lifeline for Mac users facing data loss. This article delves into the features, usage, and benefits of 4DDig Mac Data Recovery, providing a comprehensive guide to help you recover lost data efficiently.
4DDig Mac Data Recovery: Overview
4DDig Mac Data Recovery is a powerful software designed specifically for Mac users to recover lost, deleted, or inaccessible data from various storage devices. Whether you've encountered a system crash, accidental deletion, or formatting error, 4DDig offers a robust solution to retrieve your precious data. This section provides an overview of the software, its key features, and its compatibility with different Mac systems.
Key Features of 4DDig Mac Data Recovery
4DDig Mac Data Recovery boasts a range of features that make it a reliable choice for data recovery. These include:
Deep Scan: Performs an in-depth scan of your storage device to locate and recover lost data. User-Friendly Interface: Offers an intuitive interface that makes the recovery process straightforward even for beginners. Support for Various File Types: Capable of recovering a wide range of file types, including photos, videos, documents, emails, and more. Preview Function: Allows you to preview recoverable files before proceeding with the recovery process. Support for Multiple Storage Devices: Works with internal and external storage devices, including HDDs, SSDs, USB drives, memory cards, and more.Compatibility with Mac Systems
4DDig Mac Data Recovery is compatible with various Mac operating systems, including macOS Ventura, Monterey, Big Sur, Catalina, Mojave, and earlier versions. This ensures that a wide range of Mac users can benefit from its data recovery capabilities.
4DDig Mac Data Recovery: Installation and Setup
Installing and setting up 4DDig Mac Data Recovery is a straightforward process. This section guides you through the installation steps and initial setup to ensure you can start recovering your data without any hassle.
Installation Steps
Download the Software: Visit the official 4DDig website and download the Mac Data Recovery software. Open the Installer: Once the download is complete, open the installer file. Drag and Drop: Follow the on-screen instructions to drag the 4DDig icon to the Applications folder. Launch the Software: Open the Applications folder, locate 4DDig Mac Data Recovery, and double-click to launch it.Initial Setup
After launching the software, you may need to perform some initial setup steps to optimize its performance:
Select Recovery Mode: Choose the appropriate recovery mode based on your data loss scenario (e.g., Deleted Recovery, Formatted Recovery, or Lost Partition Recovery). Choose Storage Device: Select the storage device from which you want to recover data. Start Scan: Initiate the scan process to locate lost or deleted files.4DDig Mac Data Recovery: Step-by-Step Usage Guide
Understanding how to use 4DDig Mac Data Recovery effectively is crucial for successful data recovery. This section provides a step-by-step guide on how to use the software to recover lost data from different scenarios.
Recovering Deleted Files
If you've accidentally deleted files from your Mac, follow these steps to recover them using 4DDig Mac Data Recovery:
Launch 4DDig: Open the 4DDig Mac Data Recovery software. Select Deleted Recovery Mode: Choose the "Deleted Recovery" mode from the main interface. Choose Location: Select the location where the deleted files were stored (e.g., Desktop, Documents, or specific folders). Start Scan: Click the "Scan" button to begin the scanning process. Preview and Recover: Once the scan is complete, preview the recoverable files and select the ones you want to recover. Click "Recover" to save them to a secure location.Recovering Data from Formatted Drives
In case you've formatted a drive and need to recover data from it, follow these steps:
Launch 4DDig: Open the 4DDig Mac Data Recovery software. Select Formatted Recovery Mode: Choose the "Formatted Recovery" mode from the main interface. Choose Formatted Drive: Select the formatted drive from the list of available storage devices. Start Scan: Click the "Scan" button to initiate the scanning process. Preview and Recover: After the scan, preview the recoverable files and select the ones you want to recover. Click "Recover" to save them to a secure location.Recovering Data from Lost Partitions
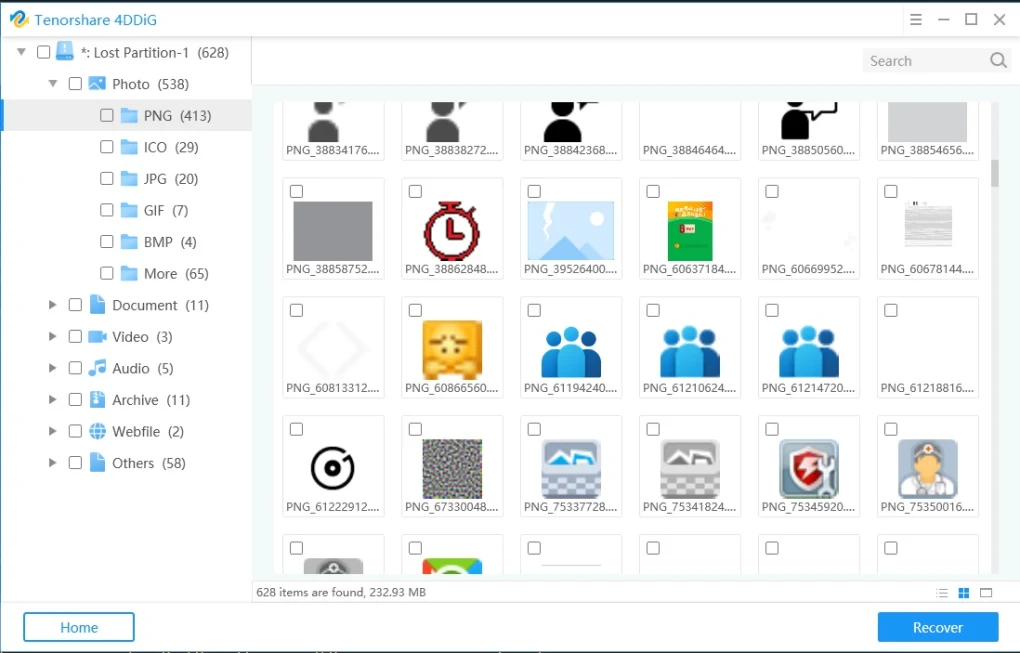
If you've lost a partition and need to recover data from it, follow these steps:
Launch 4DDig: Open the 4DDig Mac Data Recovery software. Select Lost Partition Recovery Mode: Choose the "Lost Partition Recovery" mode from the main interface. Choose Disk: Select the disk where the lost partition was located. Start Scan: Click the "Scan" button to begin the scanning process. Preview and Recover: Once the scan is complete, preview the recoverable files and select the ones you want to recover. Click "Recover" to save them to a secure location.4DDig Mac Data Recovery: Advanced Features
4DDig Mac Data Recovery offers advanced features that enhance its functionality and recovery capabilities. This section explores these advanced features and how they can benefit users with more complex data recovery needs.
Deep Scan Feature
The Deep Scan feature is a powerful tool that performs an in-depth scan of your storage device to locate and recover deeply hidden or severely damaged files. This feature is particularly useful when standard scanning methods fail to retrieve lost data. To use the Deep Scan feature:
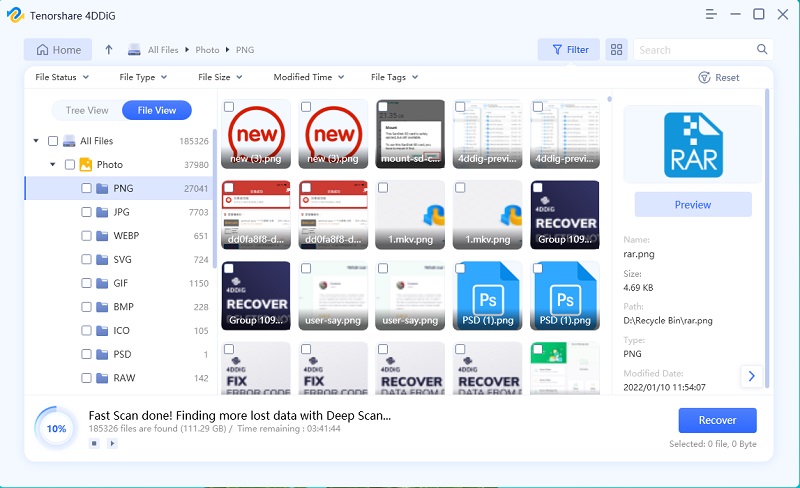
Launch 4DDig: Open the 4DDig Mac Data Recovery software. Select Deep Scan Mode: Choose the "Deep Scan" mode from the main interface. Choose Storage Device: Select the storage device you want to scan. Start Deep Scan: Click the "Scan" button to initiate the Deep Scan process. Preview and Recover: After the scan, preview the recoverable files and select the ones you want to recover. Click "Recover" to save them to a secure location.File Filter and Search
The File Filter and Search feature allows you to quickly locate specific files within the recoverable data. This feature is particularly useful when dealing with large volumes of data. To use the File Filter and Search